Upload a Schedule Update to MAG2View
1. Login to your account

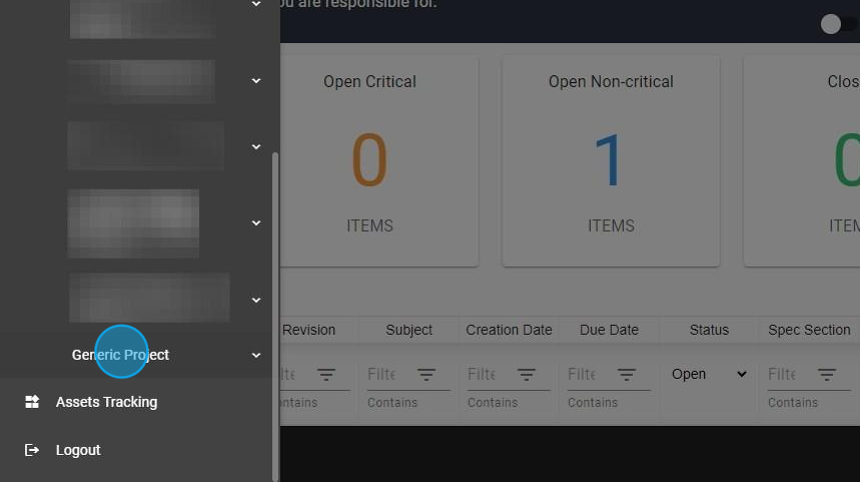
2. Click the three lines on the top left hand side of the screen to open the side panel menu

3. Click “Projects”

4. Select the correct project

5. Click “Schedule”

6. Click “Schedule Update”

7. Click “CREATE SCHEDULE UPDATE”

8. Fill out all applicable fields

9. Add the distribution list (include anyone who is required to access the Schedule Update at any point)

10. Add any additional comments to be submitted with Schedule Update

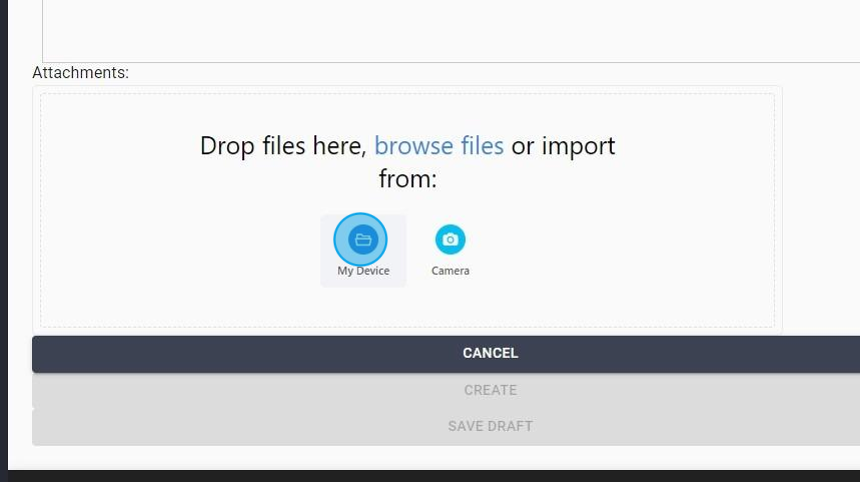
11. Upload file(s)

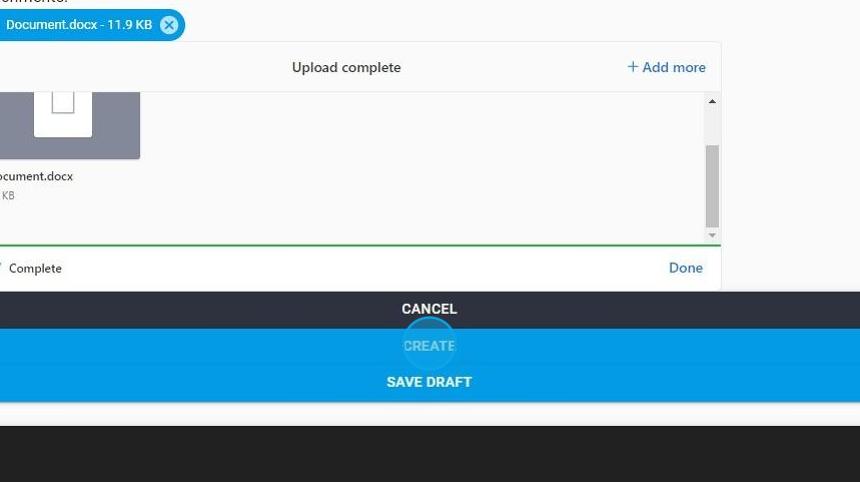
12. Click “CREATE” to upload

